

- English
- ελληνικά
- Esperanto
- Afrikaans
- tiếng Việt
- Italiano
- שפה עברית
- Cymraeg
- العربية
- Gaeilge
- český
- Eesti Keel
- Galego
- Indonesia
- Español
- русский
- Nederlands
- Português
- Norsk
- Türkçe
- Lietuvos
- Latviešu
- Pilipino
- ภาษาไทย
- Română
- icelandic
- Polski
- беларускі
- Français
- български
- український
- Hrvatski
- Deutsch
- Kreyòl ayisyen
- Dansk
- فارسی
- हिन्दी
- Suomi
- magyar
- 日本語
- 한국어
- Svenska
- Slovenský jazyk
- Malti
- Malay
- አማርኛ
- Bosanski
- Latine
- ລາວ
- Hawaiian
Use a sewing machine with zero basis
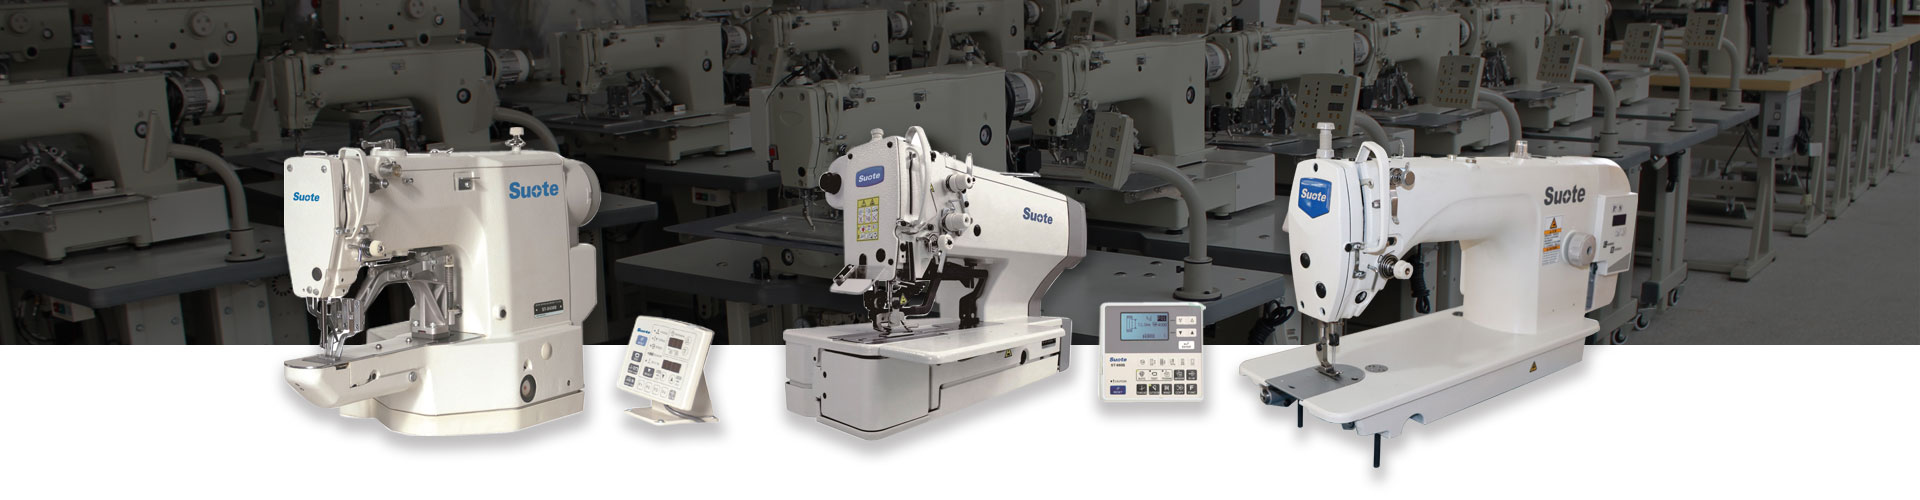
Hello everyone, today I will explain to you the use of the sewing machine. When it comes to sewing machines, I believe everyone thinks about the old-fashioned sewing machine with a table. The sewing machine we are introducing today is for household use. You can see that it is actually separate from the desktop. Today's sewing machines are mostly electric, unlike old-fashioned sewing machines that require manpower to operate.
The first thing to do before using the sewing machine is actually to thread the thread. You can observe this small transparent bobbin. First, everyone puts the household sewing thread on the thread spool, and then takes out the thread end. The threading of the upper and lower threads of the sewing machine is different. We need to wind the thread according to the instructions on the machine, and put the bobbin on the spool tightly.
After finishing the operation, turn the bobbin to the right, so that we have completed the winding mode of the lower thread. If it is placed on the left, it is still normal and will cause the needle below to move.
Because this is electric, we have a black cable that needs to be plugged into our machine. One is a thread plug that is inserted into the machine, and the other is a pedal placed under the foot. After the power is turned on, the pedal will be depressed and it will be powered on. If you step harder, its speed will actually be faster. Then there is another power cord. After plugging in, we turn on the power of the sewing machine and you will see a light indicator. When we step on the foot pedal, we can see the machine start to work. As you can see, the piece next to it is a small plastic circle, which can actually be turned by the screw above you to ensure the amount of check line; for example, if I want to reduce so many lines, I have to step on it again. , The machine will turn up, the function is to remind you to reach the amount you need. When the thread has been turned, we set the small plastic circle back to the original mode, and then cut the excess thread.
After winding the lower thread, we have to wind the upper thread around our sewing machine. There is a small spring at the top of the line, and we need to put the line on the spring inside; then we follow the number two down, and at the bottom we see the number three, and then his arrow indicates upwards. We just move the line up again; here is a number four, and its arrow is a U-shaped downwards, you can see that there is a metal inside it, we need to wind the line on this metal, and then down. Generally, the sewing machine at the end will have such a horizontal groove, and we can put this thread in our horizontal groove. The last step is to thread the thread. We can see that there is a threader, pull it down, and then push it back; at this time, there will be a very small groove, and we need to hook the thread to this hook; Thread the thread into the ditch with your eyes open, so that the threading of the upper thread of the sewing machine is finished.
After threading the upper thread, as shown in the picture, you can see that the thread has passed through the eye of the needle. Then our downline will be placed in this slot according to the instructions. Then, run the thread along a ditch and track next to it, and wind it along the ditch track. There is a blade inside. The thread is easily scratched. After winding, we close the backing plate. This is a comparison. A simple way. This method also has such a function after our sewing machine has been continuously updated.
Of course, there is also a sewing machine with this lock cylinder placed vertically on the lower line. The lock cylinder of this sewing machine is inside, not visible from the outside. We need to remove the shell first, and the lock cylinder is hidden inside this. Many of our industrial machines, including old-fashioned sewing machines, have such a structure. First of all, we put the bobbin into this bobbin, and then find such a thin groove; move the thread from this thin groove to the other direction, and bring the thread into this groove, complete the bobbin and Combination of bobbin case. We pull out the lock cylinder and put it in the sewing machine slot, and release the paddle, so that our entire bobbin is installed. But the thread is still below, we need to put it on the upper panel, so we need to turn the round handle on the far right of the sewing machine, when we are pulling the thread, turn the round handle. In this way, offline can be brought to the top. We take out both threads and put them behind this metal piece, so that the preparation for the sewing machine's upper and lower threads has been completed.
After everything is ready, you can twist the ring next to it, let the needle stick into the fabric, and then step on our pedals, which is more secure. When we sew, we don't need to pull the fabric or push it. There is a gear under him, which will keep sending our fabrics forward. But it should be noted that if you don't care about it, it will sew crookedly, because the machine is not smart after all, so it needs us to hold it and let it walk a vertical line.
When we gently step on our pedals, remember that our hands are about five centimeters away from the needle. If they are too close, accidents will often occur. The premise is that we need to keep our eyes on the hands and needles, then I guarantee you are safe. If we don't hold it, the needle will get farther and farther away from the edge of the cloth, so sometimes we still have to straighten the cloth. In our ordinary sewing, the distance between the edge of the cloth and the needle thread is one centimeter. This requires frequent practice.